Tutorial for Installing the VPN-Client ‚Openconnect‘ on Windows-Systems
Requirements
OS:
This tutorial is for Windows-Systems.
Root Certificate:
The certificate T-TeleSec_GlobalRoot_Class_2.crt must be installed. Most modern distributions have it preinstalled.
Internet-access:
You need to have reliable internet access.
User-ID (Unikennung):
Your User-ID has to be unlocked.
Installation
Download the Openconnect software.
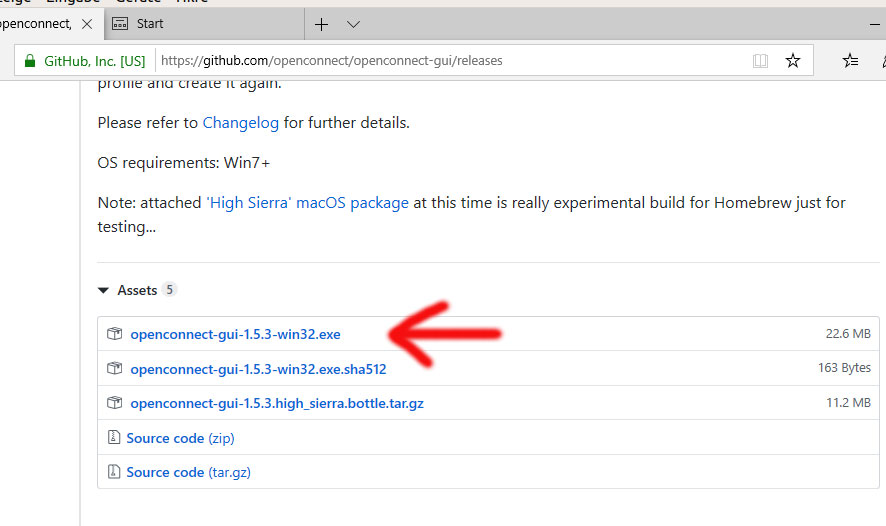
“Save” the installation file in a folder of your choice (e.g. in your download folder) or run the installation file immediately from the browser by clicking “Run”.
When you have saved the installation file please double click it to start the installation.

Confirm the user account control notification by choosing “Yes” ("ja")so the software can be installed on your system.
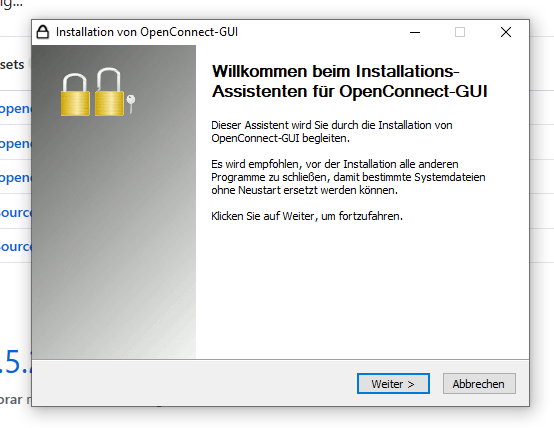
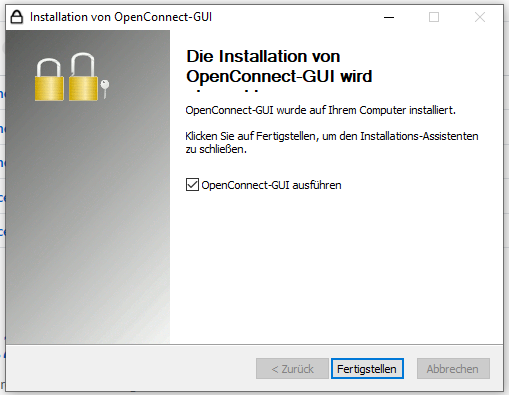
Now the real installation process begins. Please continue by pressing “Next” ("Weiter").
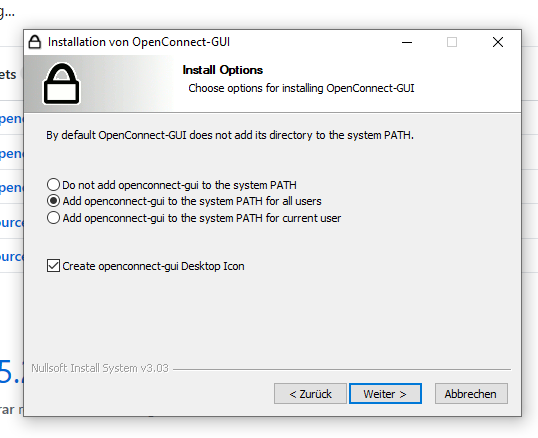
You can now choose if other potential users in your Windows system are supposed to have access to openconnect (Add openconnect-gui to the system PATH for all users).
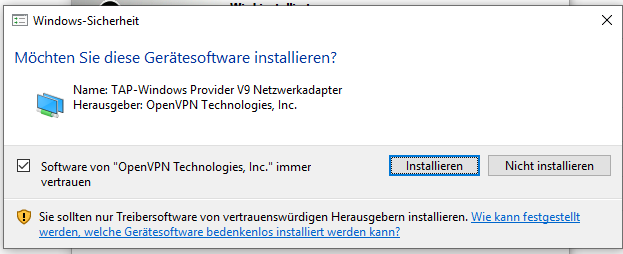
Confirm the following Windows security window by pressing “Install” so the network adapter can be set up.
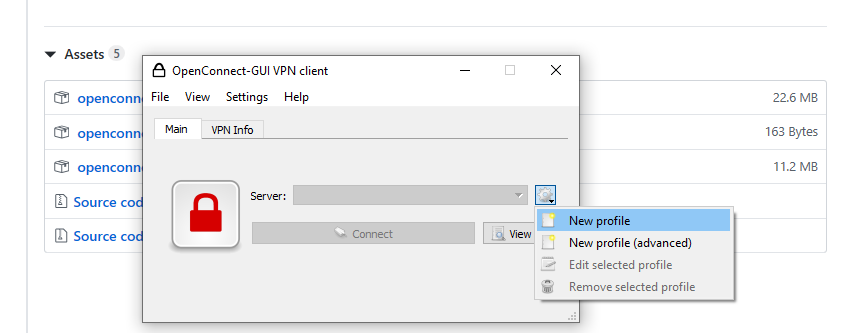
Now please creat a new profile:
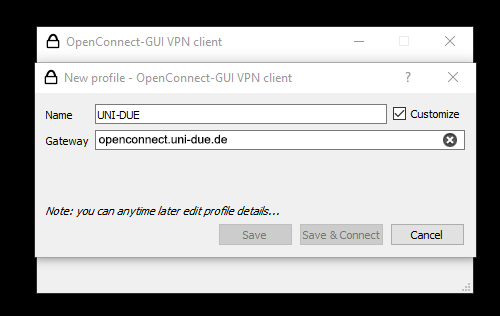
You can choose any name for the VPN connection (here: UNI-DUE). Under Gateway please enter the VPN server’s address: anyconnect.uni-due.de
Then save the newly created profile (Save or Save & Connect).
Should you choose “Save & Connect” the software will now ask you for your username. Please enter your User-ID (Unikennung).
Now you only have to enter your password in the following window. After that the setup of your VPN connection is complete.
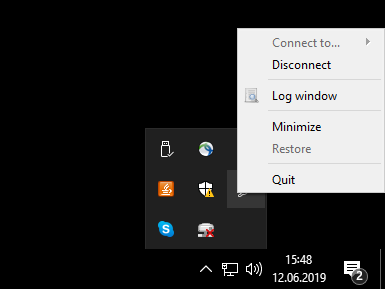
You can disconnect the VPN connection by right clicking on the openconnect symbol and then clicking on “Disconnect”.