Personal Certificate for E-Mail – Step 1: Request and Install
To insert a certificate in your e-mails for using a signature, you need to follow these steps:
- Request and install a certificate
- Import the certificate in your e-mail client
Request and Install a Certificate
Request a Certificate
Visit the following website, to request your personal certificate: ‘Uni-DUE CA’
- Follow the link to the new request page and choose ‘certificates’.
- On your first visit, you need to choose a password. This password is then valid for the browser to manage all requests.
- Now choose ‘Request new certificate’.
- Please fill out the form, then choose ‘Show certificate request’ and then print out the request form.
Make an appointment with one of our registration offices for an identity check. Please bring the signed request form and a valid ID to your appointment.
Install a Certificate
After visiting the registration office, you will receive an e-mail, which informs you about the next steps in the process.
In the e-mail you will find a link, that you need to follow.
Upon entering your password, you will see a list of your requests (usually just one)
Click on the request. You can now download the p12-file.
In your browser click on ‘import certificate’.
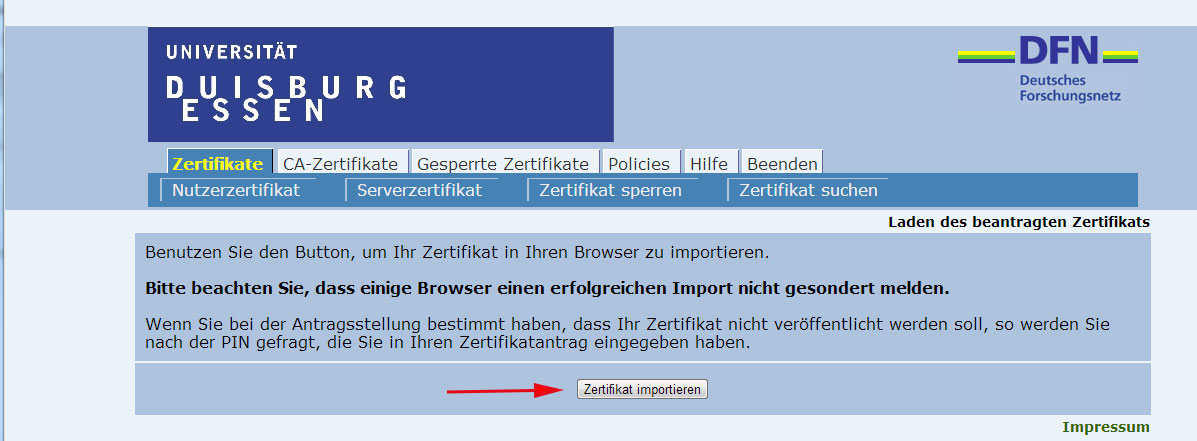
You will receive notification, that your certificate has been installed successfully. Confirm this notification by clicking on ‘OK’.
The certificate is now installed in your browser.
How you can use the certificate in e-mail clients like Mozilla Thunderbird or Microsoft Outlook for signature purposes, is explained in the next step Import the certificate in your E-Mail client.